Spring Cleaning!

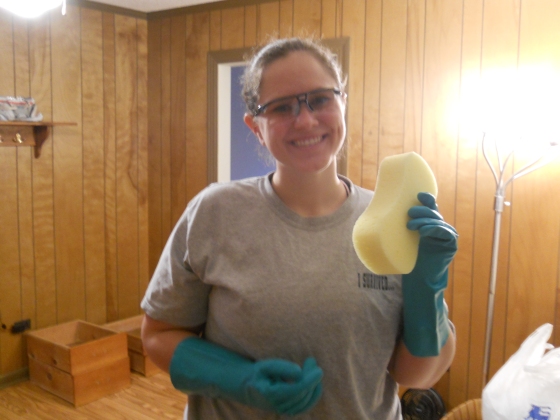
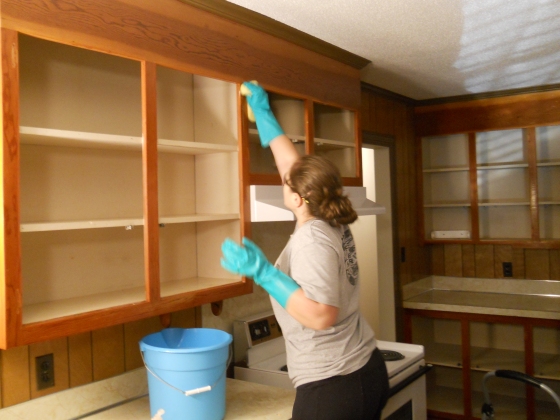
This past weekend we did a little spring cleaning. Our list was long and we didn’t get to everything, but man, it sure felt good to check some of those things off the list! But you know what I discovered? Doing some deep cleaning really makes you see how icky things can get once you’re up close and personal with it. Case in point: the fridge! I knew it needed to be cleaned, but I had no clue about the attention that it needed until I got in there and did it! And don’t even get me started on the oven!

Van’s mom watched Rylie for several hours so we could get more done. Cleaning and baby watching at the same time just doesn’t seem to work. Time was up before we knew it, but it was really nice to have a good chunk of time to dedicate to getting things done!

I found a great solution for a chore that I previously hated doing – cleaning the ceiling fan. The falling dust, the awkward angle…no thank you! To make it easier, just use a pillowcase and slide it onto the fan blades one at a time and wipe the dust off. It all stays inside the pillowcase and is a mess-free process.

065

I also cleaned the door of the oven and can’t get over how clean it is now! Spotless! Make a paste with Baking Soda and vinegar. I started with 1/4 cup of Baking Soda and then added enough vinegar to make a slightly runny paste. Spread it on the oven door and wait 20-30 minutes and then scrub off with an SOS pad. I used these and they worked great. Check out the before and after! It grosses me out to think how it even got that way, but now that it’s clean I’m hoping to keep it that way.

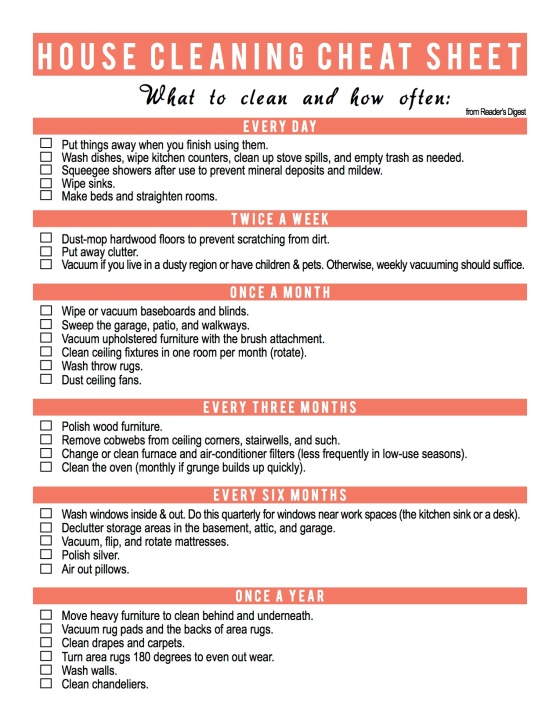
074I found a great year-round cleaning schedule that I’m going to try and stick to from Reader’s Digest. I know that I want to do a lot of the things we tackled last weekend on a more regular basis so this list will serve as a great reminder! Of course some of the things like polishing silver don’t really apply, but I think it’s a good list nonetheless!

house-cleaning-cheat-sheet-copy

Happy Spring Cleaning to you!

Next Up…Refinished Hardwood Floors!

Well hello there!

I have so much to update you on! We have accomplished several things on our house to-do list lately and I can’t wait to show the photos. Since we moved in, one of the things I have wanted to do most is refinish the hardwood floors that are underneath the carpet. We knew that we wanted to have hardwoods in the hallway, entry and in my craft room (!!) so we started there. It is still up for debate about whether or not we will do hardwood or carpet in the bedrooms. Van won me over by saying that he wants carpet in the living room so that he can roll around on the floor and play with our kids some day. So carpet in the family room is the plan!

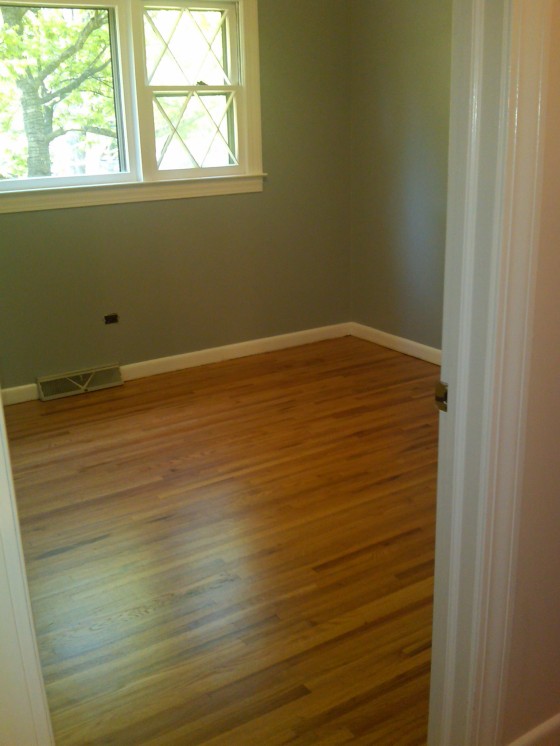
You’re really not going to believe these before and after pictures! The craft room floors were in really good shape. But the floors in the hallway? Terrible! The people who lived here before must have had some big spills or something. Let’s let the pictures do the talking…

Craft Room Before:

After Paint and Pulling up the Carpet (minus the carpet pad):

Final Craft Room:

Entry/Hallway Before:

Hallway During:

Final Hallway:

Yay! We love it so much! New Century Hardwood Floors did the work and we would highly recommend them. Great work and customer service! Now it’s time to move back into the craft room and get some crafty projects accomplished!

Another Completed Project: The Pantry!

Our third house project is finally complete! It took quite a bit longer than we were thinking, but we are absolutely thrilled with the results. Van did most of the work on this one since it was kind of a tight space and I assisted with input and ideas 🙂 It really turned out much better than I even imagined.

The space we started with is where the washer and dryer hookups were originally located. We moved them out to the closed in porch (and they’re doing lovely there, might I add), since after setting ours up there, we couldn’t even open the door to the outside all the way. Way too tight. Maybe the people before us had mini machines?! Anyway, it worked out great and is the perfect spot for a pantry.

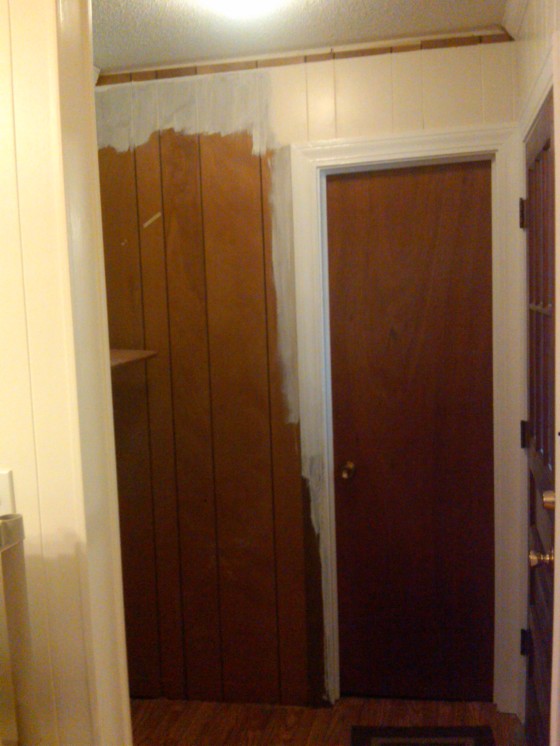
Here is the space when we started the project. The paint was from when we painted the rest of the kitchen, but we knew this project would be in our near future and that we’d have to paint some areas, so we just dealt with the somewhat unsightliness of it for about a month.

I am SO proud to say that Van framed a wall and everything to make this project happen. He didn’t even know he had it in him, but he is really good at this stuff…and I am really thankful for that! Building the frame (I was spying through the kitchen window)…

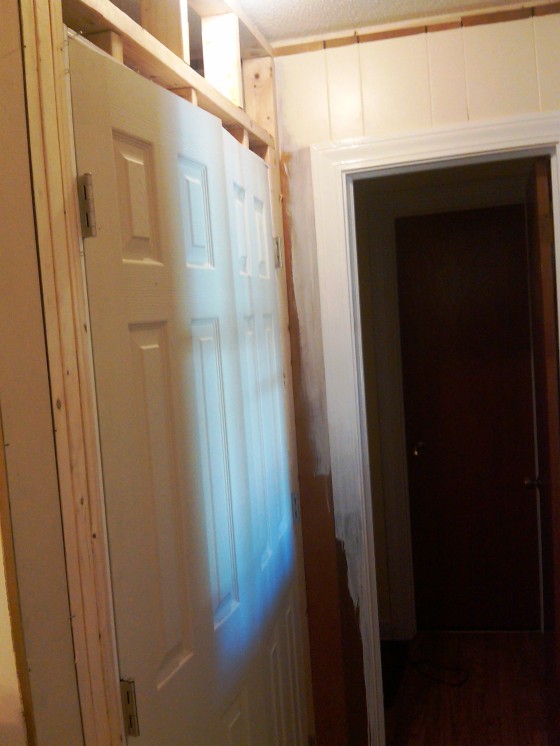
The frame was up in no time! We put the doors on to see how it would look and to get them in place.

A few days later though they came off and stayed off for several days while Van put up paneling to match the rest of the kitchen. He also sanded, primed, painted (and then did it all over again because for some reason, it peeled off when he taped for the moulding). Matching the moulding that was already up there was slightly tricky since he had never done that before, but thankfully his uncle was able to help.

And now, here we are today with a completed pantry! If you didn’t know better, it really looks like it was originally there. Love that!

The shelves were the finishing touch and I’m so glad that we went with the boards instead of the wire racks.

Now I just can’t wait to organize everything! I already have a plan, now I just need to put it to work! I’ll share what I come up with, hopefully sooner rather than later!

I can’t even tell you how happy we are to be done with projects in the kitchen for now. We’re ready to tackle the hallway and my craft room so that they will be ready for the hardwoods to be refinished. Oh that will be a glorious day! We’re also ready to work on more projects together. Stay tuned!

Project Completion: The Kitchen!

Yes, it’s true. The kitchen update is finally complete!!! After cleaning, sanding, wiping down, priming, priming, priming and painting…we are done! Here’s a tour of where it came from and where it is now. I hope the pictures do it justice!

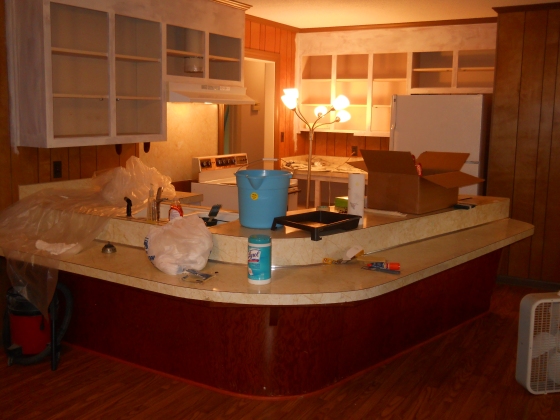
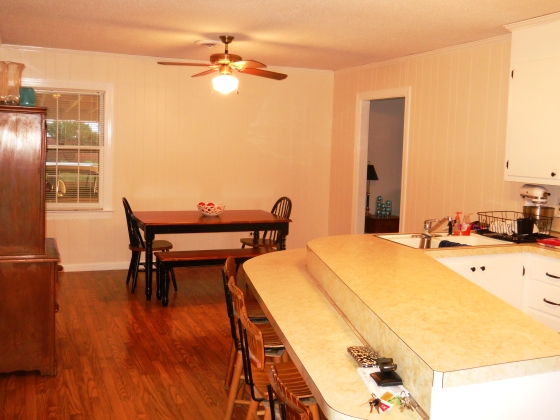
These few pictures were taken during our first visit to the house in October.

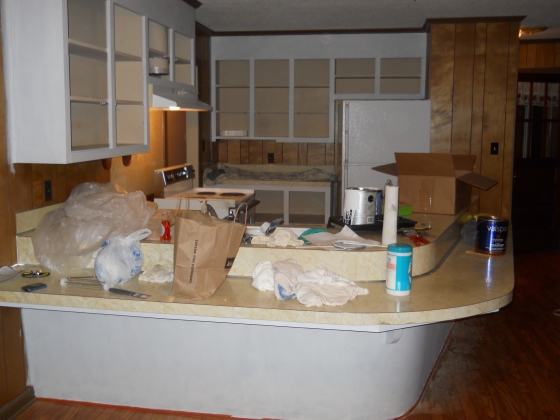
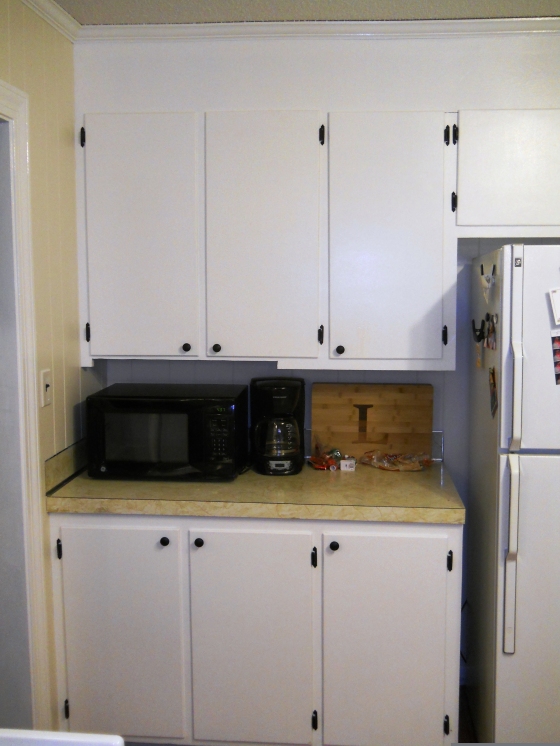
As you can see, there was a whole lotta brown going on in this room! Oak cabinets, oak wood paneling, copper-ish hardware on the cabinets, laminate wood flooring and dark brown molding just made the room feel small and DARK! I’ve always loved white cabinets so we set out on a mission and tackled those first since they take awhile to cure, etc.

This was about an hour after we closed on November 18. We didn’t waste any time getting started!

Primed cabinets. At the time, I remember feeling like this was such an accomplishment. Oh if we only knew how much farther we had to go!

More priming…

Priming the walls. The stripes are a good look, no?

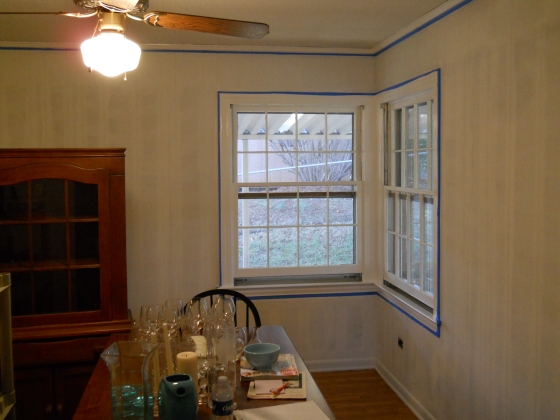
Much better. But still, no paint, just primer. The top molding was also painted white…with three coats.

And here’s your first look at the cabinets! This photo was taken at night so the lighting is a little off, but you get the idea.

Oh those stinkin’ windows! You can see they were brown like the molding in one of the pictures above. It took 2 hours just to prime one of them! That doesn’t even include paint! Not how I wanted to spend one of my days off last week, but it was definitely worth it in the end!

And now, for the moment you’ve been waiting for! The finished product!

And there you have it! We really enjoyed doing this project together and didn’t even get frustrated with each other along the way. Even though it took quite a bit of effort and time on our part, it was so worth it. We learned that we work together on projects really well and that we CAN do stuff like this! We did have to buy all new stuff like paint brushes, pans, etc. but we saved so much by doing it ourselves. Go us!

The paint color on the walls is Valspar Antique White. We wanted to keep it bright in there, but also be able to tell a difference from the molding. I believe we accomplished that! Of course some day I would love to update the counters, but there are other projects (the carpet) around the house that we want to do first.

We are absolutely LOVING our new old house and are having so much fun making it into our home! Next up, the living room!

Nearly A Month In!

Well we’ve had our house for nearly a month now so I figured I better get with it and share what we’ve been up to! I’ve been meaning to post an update for quite some time, but our weekends have been full and relaxing and doing nothing sounds so great most evenings!

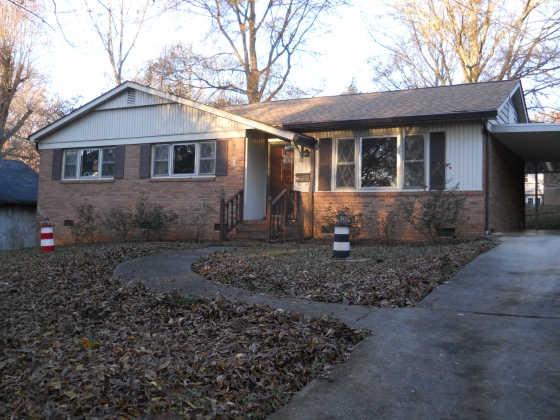
Right before we closed, we showed our house to my mom who took this cute little picture:

We were beyond excited when closing day rolled around. The people who were selling our house were just so sweet. It was their parents’ house and their mom passed away earlier this year. We learned all kinds of wonderful things about her like how she loved to bake and how she would make mints and all of the counters would be covered in them. The daughter works at a drugstore around the corner and Van has already run into her. I’m excited for her to visit us and see some of the things we’ve updated.

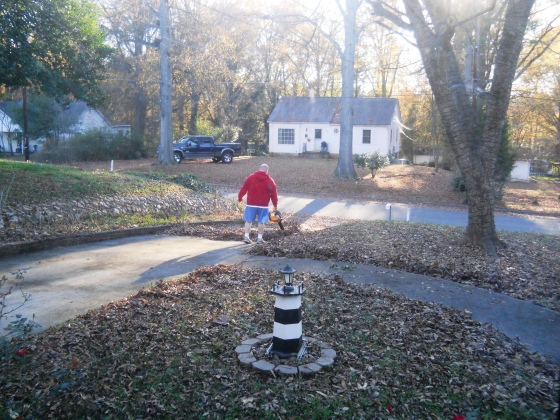
Less than 30 minutes after leaving our closing meeting, we had changed into our work clothes and were at the new house ready to get down to business! Van did some quick yardwork to get the leaves off of the driveway and I got to work inside on some random things before we started taking the doors and hardware off of the cabinets.

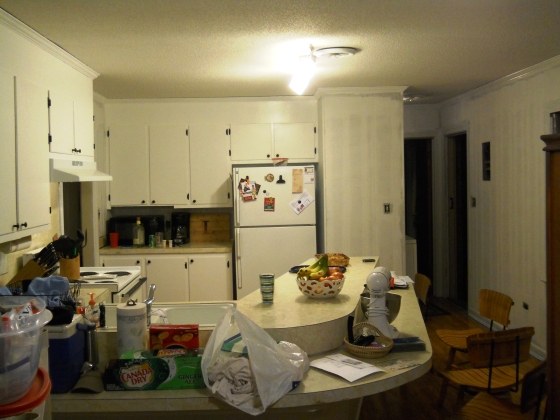
This is what the kitchen looked like when we first got started. Oh how it has changed!! But you’ll have to wait a little longer on that one. We’re only partially done with this project.

We knew we had a lot of work ahead of us on Saturday so we called it a night after getting all of the doors and hardware off. On Saturday morning I cleaned and sanded the cabinets while Van started painting the closets. Better wear those safety glasses!

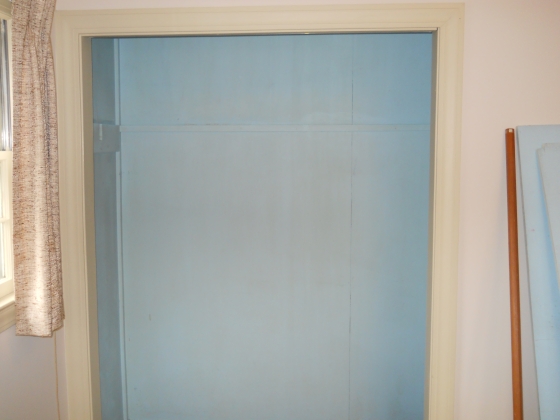
We had three closets to paint (one in each bedroom) and they were each a different shade of blue. They were painted from floor to ceiling in these colors.

They each took significantly more time to paint than we expected. 3-4 coats each and you could still see some blue! We decided that our clothes would cover the walls and that they didn’t have to be 100% perfect. Later we discovered that each of the rooms was the color of the closet. Thankfully they had all of the walls painted before selling the house or we would have really had our work cut out for us!

After all of the holes were filled, the sanding was done and the final clean off took place, I got started with the priming! That is some thick stuff, but I’m so glad we decided to use it. We actually ended up doing two coats since the wood was pretty dark, which turned out to be a good decision.

The final! With primer that is…

Since then, we have also painted the cabinets, doors and the molding. We also got new hardware for the doors and hung them! I’ll wait to share that photo once we finish painting the walls. I’m thankful that we got as much done as possible before we moved in because since then, we haven’t accomplished quite as much! We also had time off from work then so that helped. I’m looking forward to some time off next week to finish the kitchen! Woohoo! Stay tuned!

After a Much Too Long Break…

Whew! Sorry for my super long absence! This buying a house, traveling for work and attending weddings stuff leaves little time for much else! But that also means I have plenty to share! So over the next few days I’m going to do my best to get caught up and share some recent happenings with you.

Since I last posted, we have been officially approved for our house and are set to close this Friday! Woohoo!!! It’s only been a little more than a month since we first met our sweet house, but it seems like we’ve been waiting for months and months for this day to finally arrive! We bought some painting supplies last night so we’d be all set to get to work early Saturday morning. We close at 2 on Friday so if we’re feeling ambitious, and I have a feeling we will be, we may just get started then! The first projects on the list are to paint the closets and the kitchen cabinets. The closets are blue and green and we want to get them painted so they’ll have time to air out before we put our clothes in. I can’t wait to post the before and after pictures and to see our house become our own!